Many G-Shocks have an Auto-Illuminator or Full Auto-Illuminator on board. Sometimes it's called Auto-Light or Auto-EL. As far as I know the first Auto-Illuminator was introduced on the Extreme DW-003XS and DW-9000XS models (sold overseas as G-Lide) in April 1997. The Full Auto-Illuminator, which only switches the backlight on in dark surroundings, was introduced on the Raysman in 1998. Have you Ever wondered how the Auto-illuminator switch of your G-Shock works? I think I posted the answer probably more than 10 years ago on the G-Shock Forum (often nicknamed F17). Maybe an idea to bring up the subject again.
The light switch on the drawing board. A + B are the connections to contacts C are the contacts at the top of the slope D is the plastic housing with the slope. E is the little ball. 1 is the position in rest, 2 is the position when tilted.
Actually the switch is pretty simple. Inside a plastic housing there is a small steel ball, located down a slope. This ball can freely roll over the slope. When you twist your wrist towards you, while your arm is hold roughly parallel to the ground, the ball rolls over to the top of the slope. At the top of the slope there are two contacts. When the ball is at the top of the slope, it connects the contacts, so the electric circuit is closed. The light will turn on.
Of course I couldn't resist to build a working model and to make a short movie to demonstrate how it works.
Everybody knows Lego I think. A lot of us have played a many hours during childhood and some of us are still known as AFOL's (Adult Fan Of Lego). I'm not sure if I fall totally in that category (I've seen real AFOL's at work), but it's also very handy for displaying G-Shocks. My first Stand was inspired by a post of Luciano (LUW) on the G-Shock Forum at WatchUSeek. It looked great and I thought this was a nice alternative for my CP Holders I use a lot for display photography.
Aove the stand by Luciano in Brazil. He also gave me a tip where to look for bricks. Brick Link seemed to be the right place to look. I found a store at about 5 kilometers from where I live, who had the right bricks. So here's my version of this stand.
Now, what do you think about this? I used black bricks to minimize colored reflections. Maybe it also looks cooler.
I also made a movie about the building process. You will notice I sometimes breakdown here and there, to improve the structure.
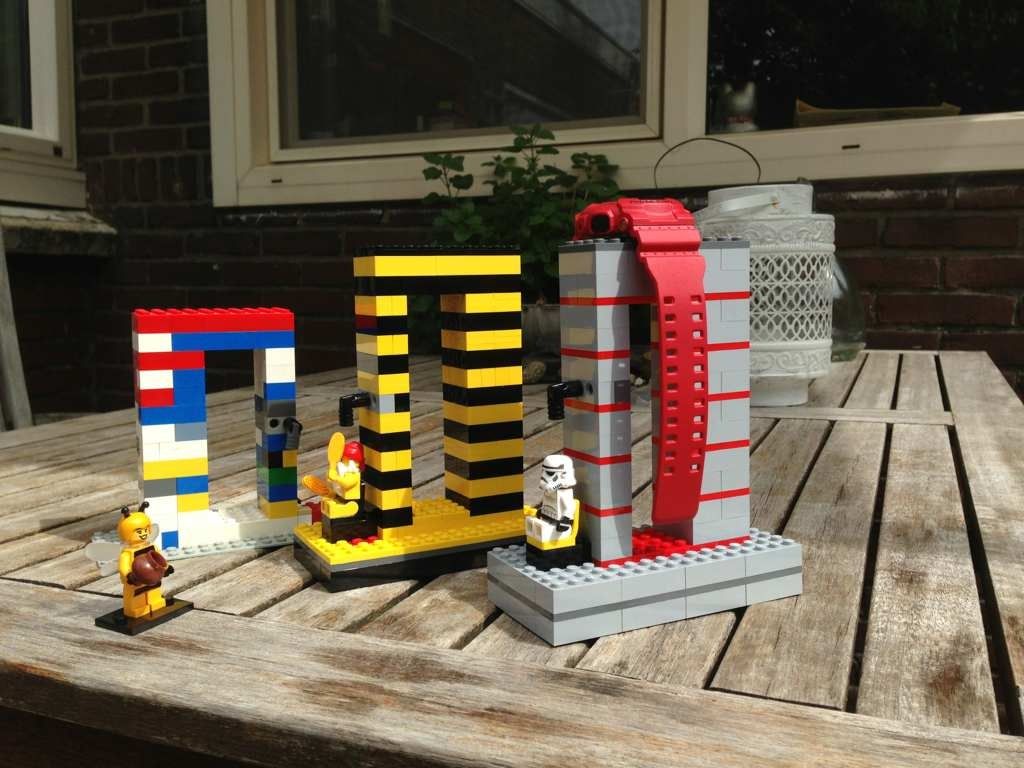
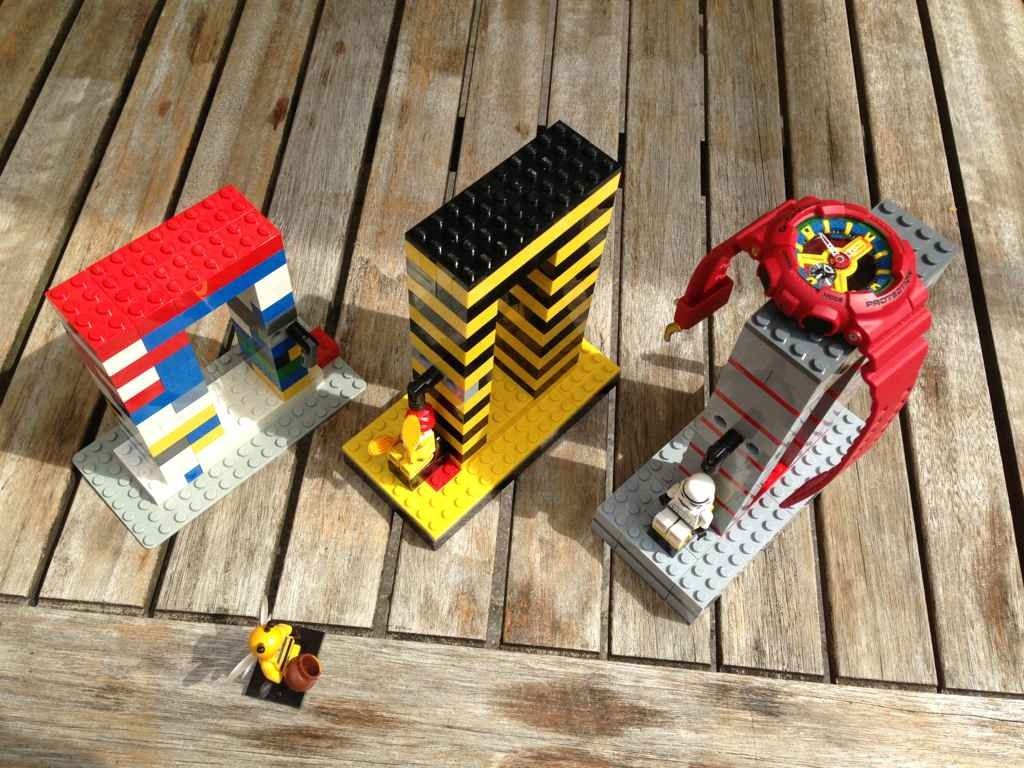
So, now my hands were itching to do some more. For years I have used a custom Lego stand for EL-Backlight photo's. You might have noticed it in some of my backlight pics some red Lego studs. These bricks I had used were actually Bram's. I decided to order enough bricks to build two new stands, but now with a more organized color schemes. The original stand was build with random bricks.
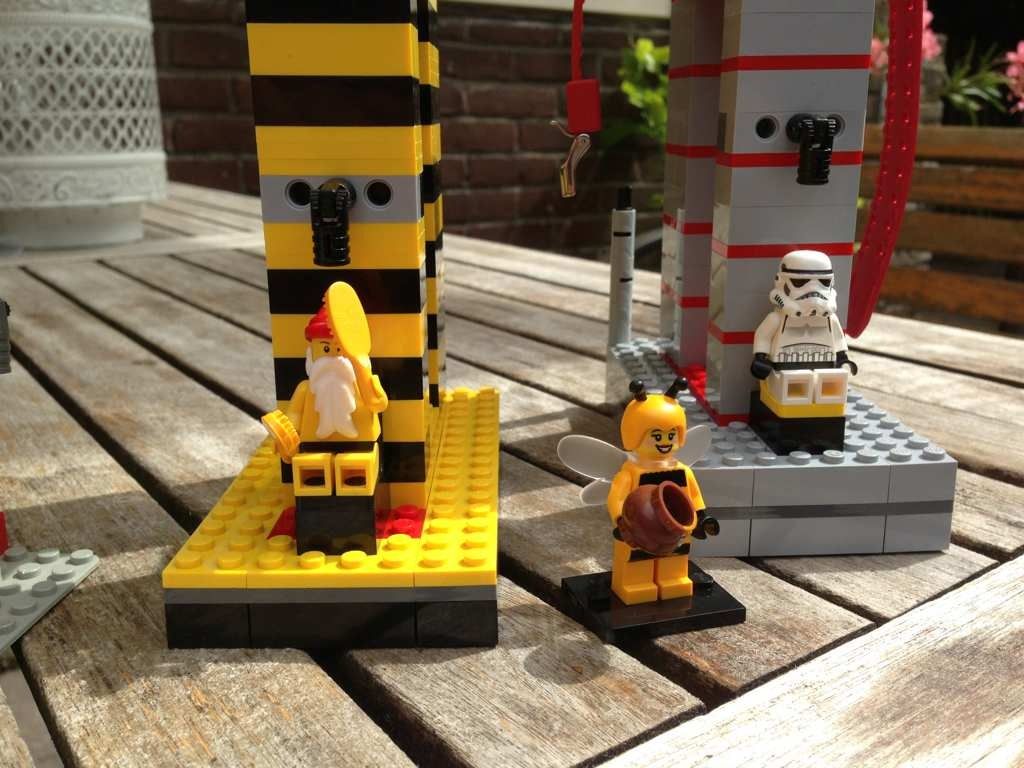
On the left you see the original stand. It's not complete anymore, because Bram had added the naked bathing Santa in the past. I decided I wanted to keep the Bathing Santa in the new stands, but since I have two, I added a showering Stormtrooper as well (If I didn't had bought the Stormtrooper, I could have saved €5.- on the building costs).
And of course, I made a video of the building process.
So, if you see one one of these pop up in one of my articles, you now know how I made them. Thanks to Luciano!