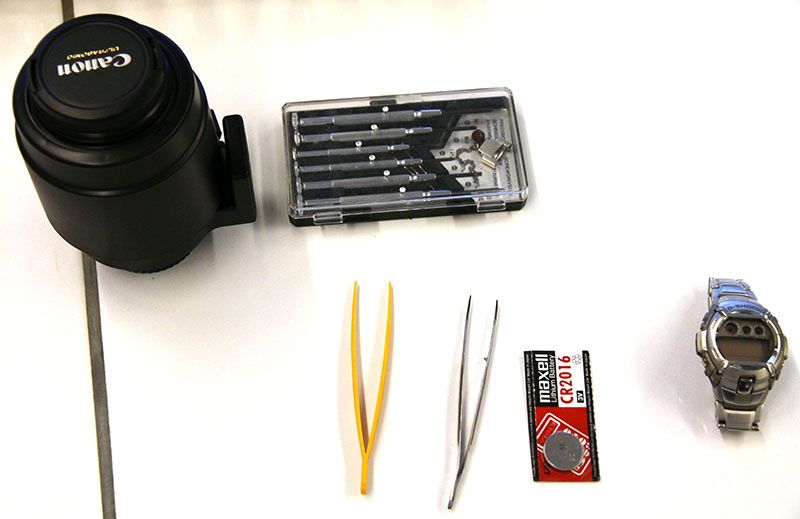
When I grabbed my "Tough Guy" last week to put it on, I noticed the battery died, unfortunately. Well, I had some spare time at school, so I made this extensive photo report about how to change a battery on this type of G-Shock and specially, how to reach the battery.
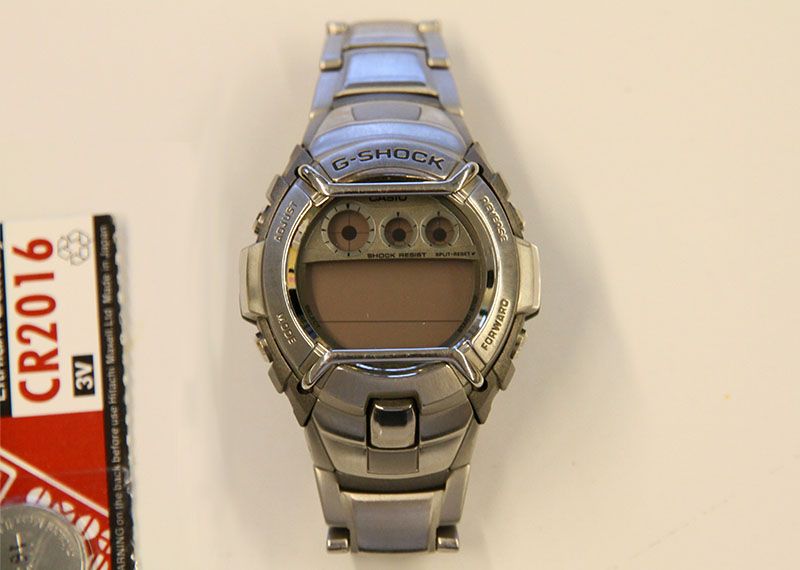
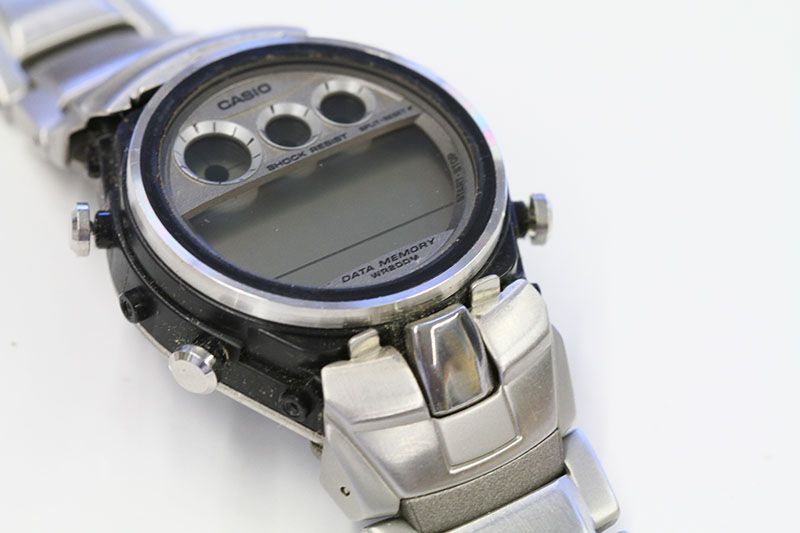
Here it is. The model number of this watch is G-3110D-8VER. I think the procedure of changing the battery on this model is similar to other metal bracelet Cockpit and Duplex models from around 2003 - 2004. A battery change on this model looks pretty complicated, but if you follow my steps, it appears to be easier than you might think.
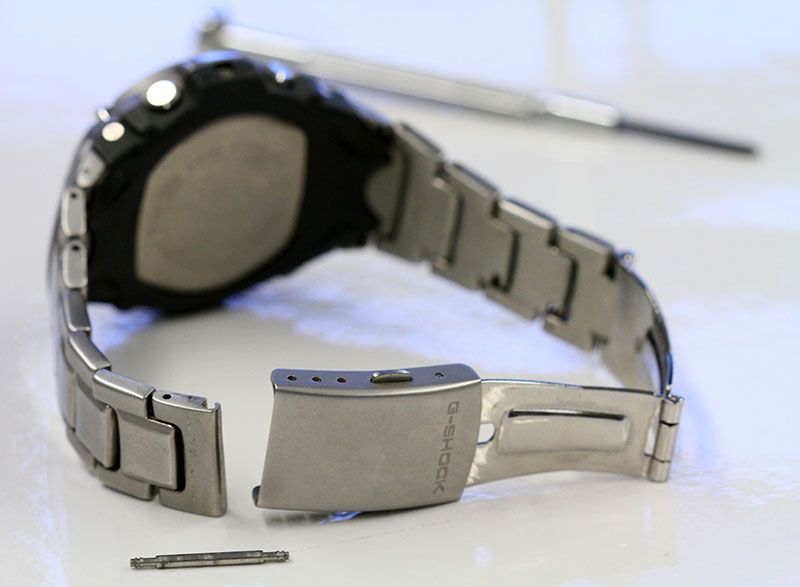
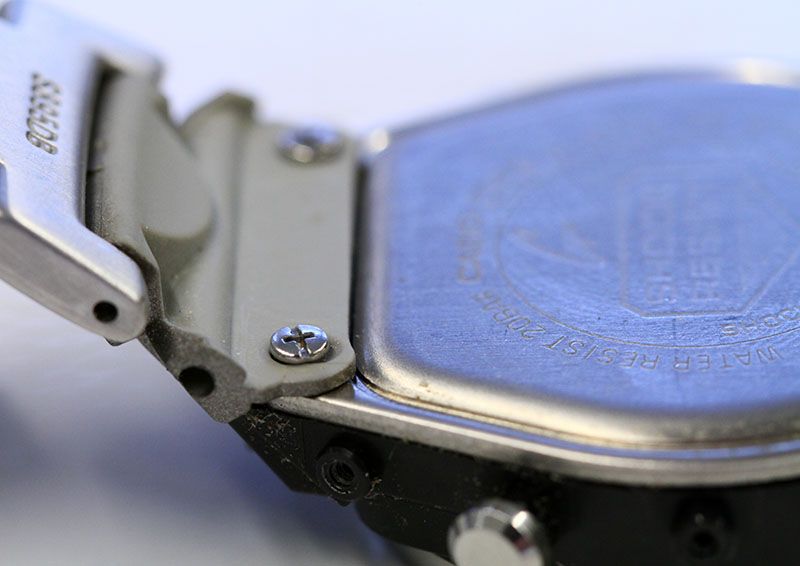
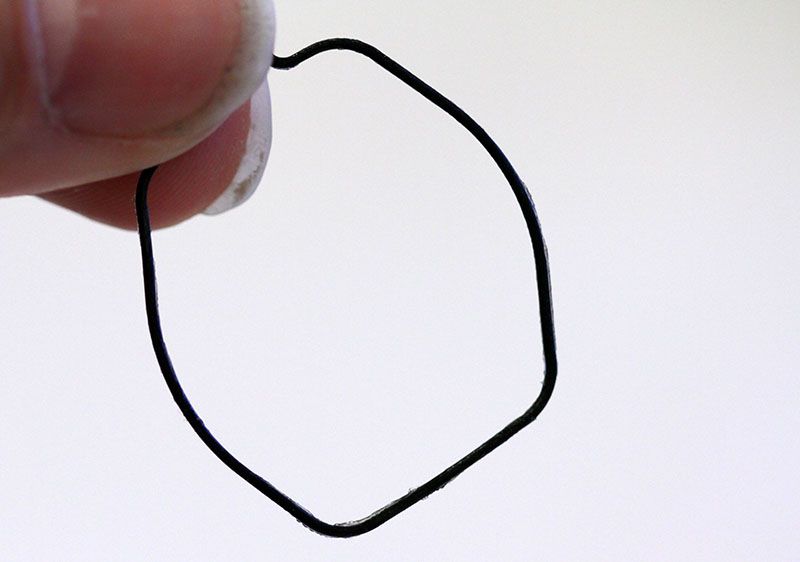
First open then bracelet at the buckle, so you get easier access to the case back. Just push the springbar in with a springbar tool or a similar object. I used a sewing pin this time, as I don't had a spring bar tool with me.
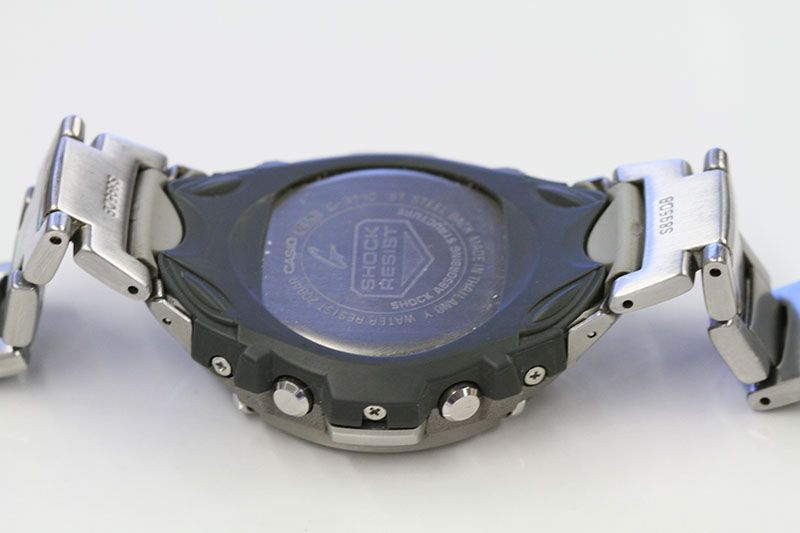
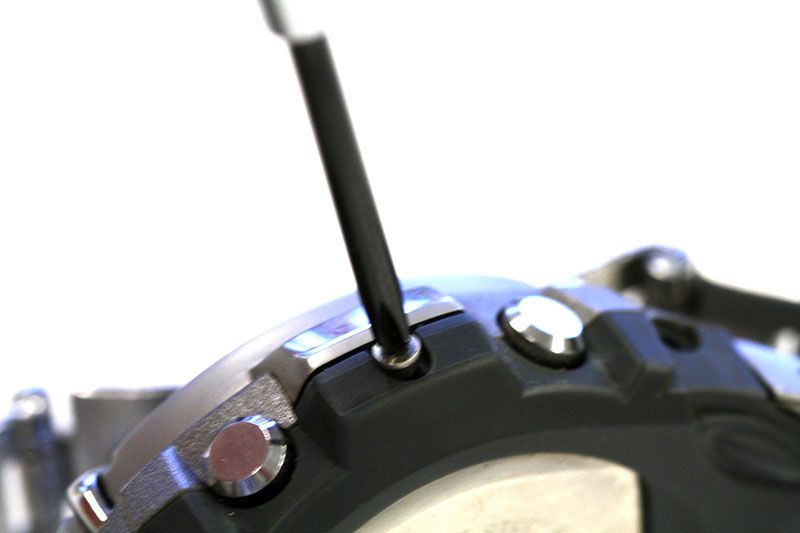
Now you can start unscrewing the 6 small screws on the side of the bezel. Carefully store these tiny screws somewhere safe. I always use the lid of my screwdriver box. There will be more screws, so remember what comes from where.
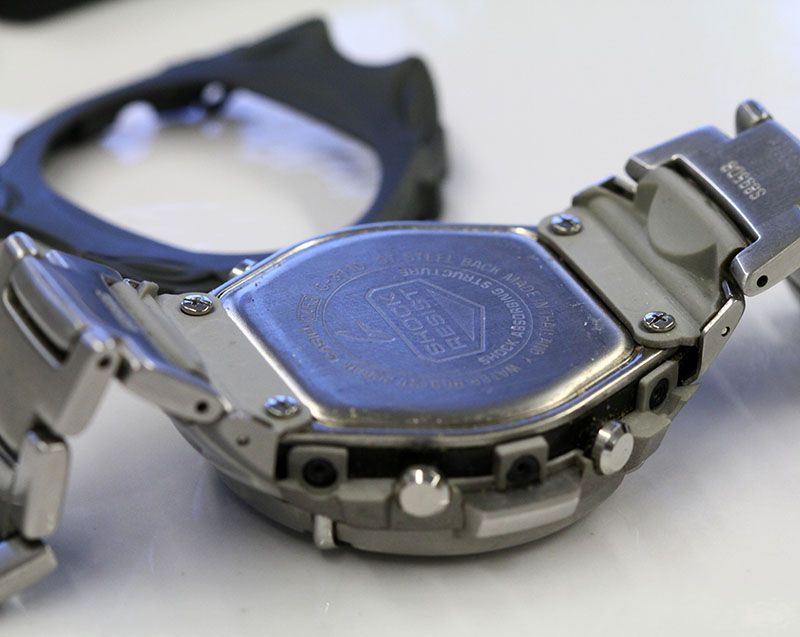
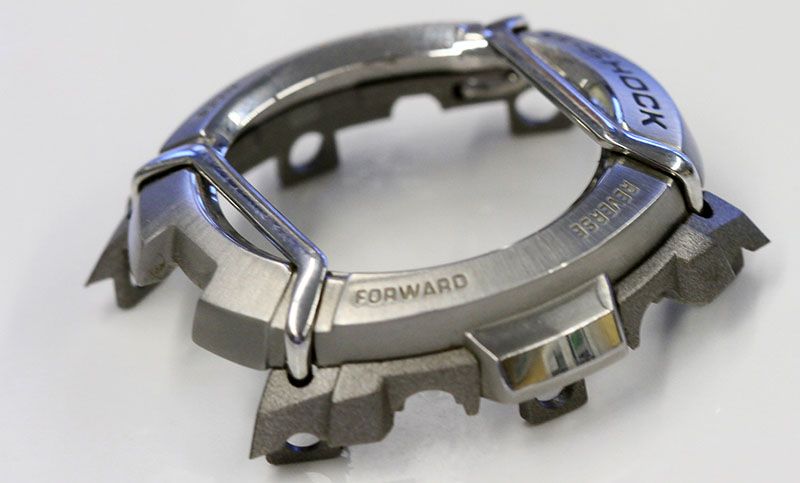
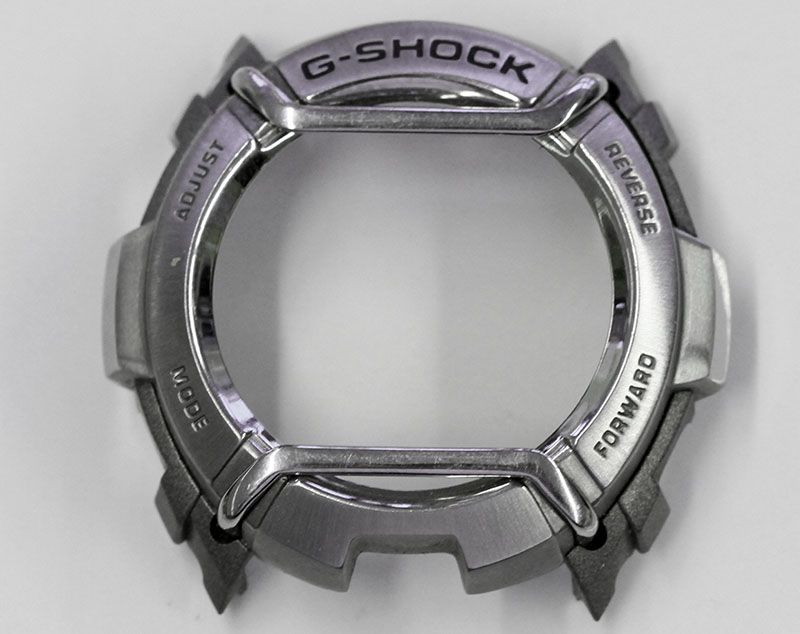
The back protection comes off easily. Now you also need to remove the bezel. It's actually also relative easy. The sides are made from soft resin. Put it carefully over some notches and you get a naked case.
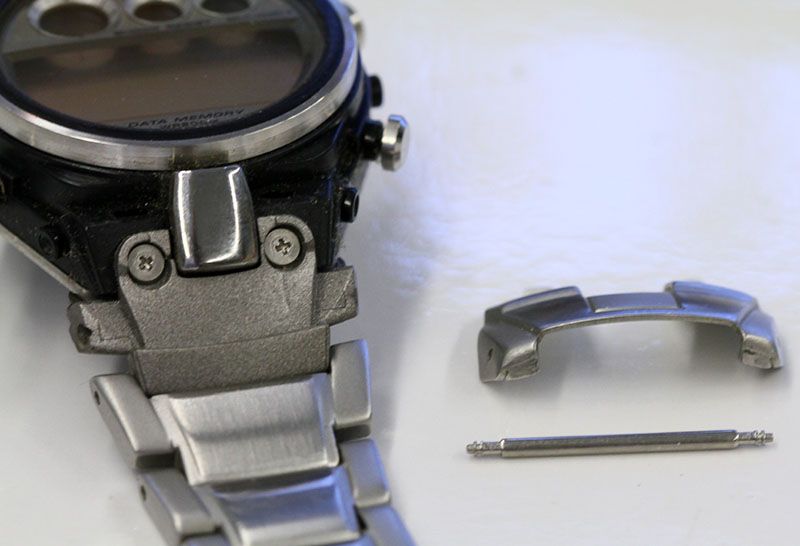
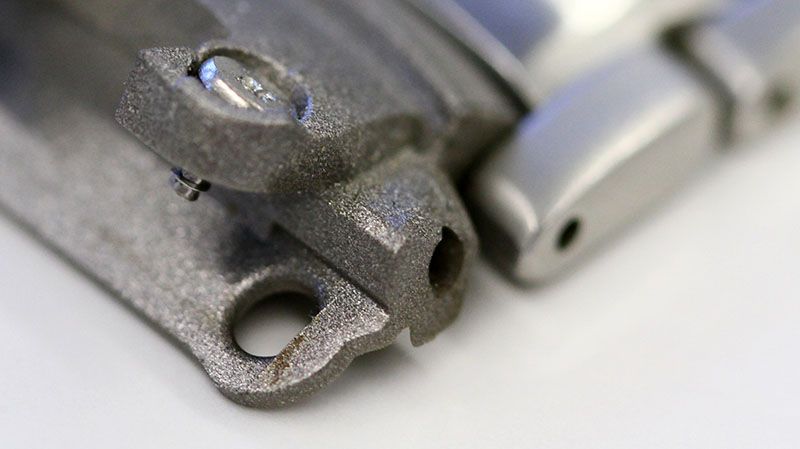
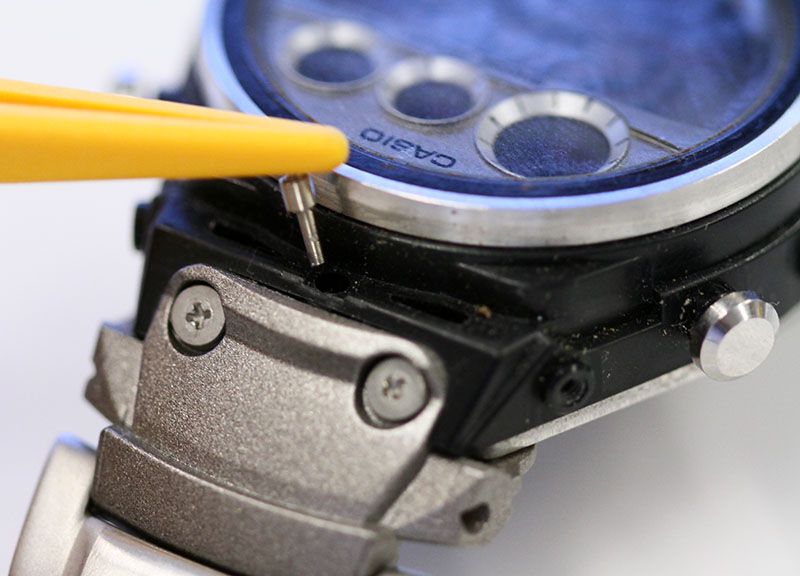
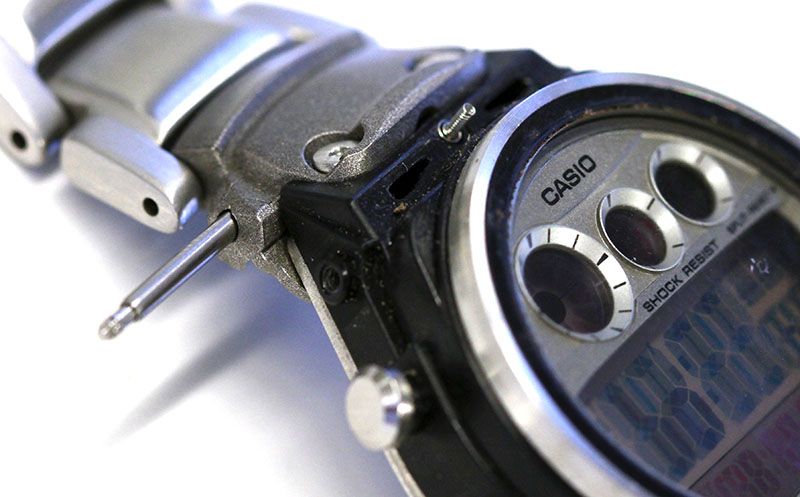
You'll notice the bracelet is connected to the case on the caseback and somewhere under that small metal shield. It is hold on it's place by a springbar, which can be pushed in from the outside. Be careful not to launch the springbar.
Now the two other screws that hold the bracelet to the case are revealed.
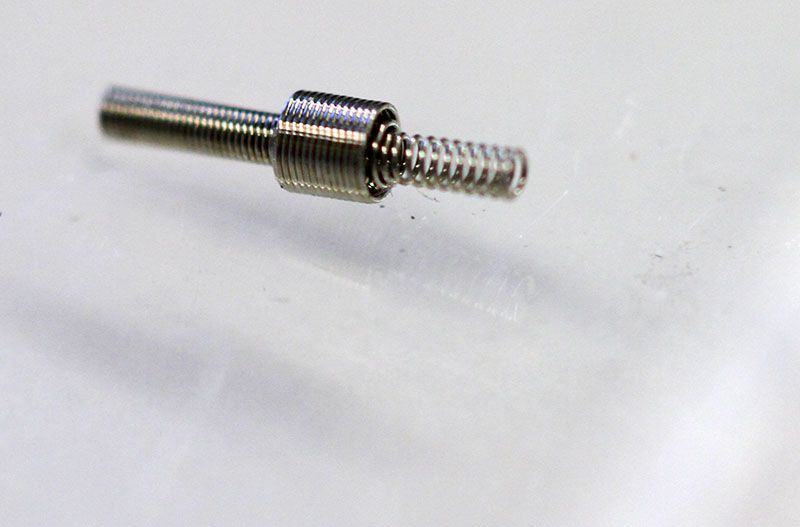
Note there is a small spring on the top of the case. I do not know what function it has, but as we will put the case upside down when replacing the battery, I recommend to remove this spring carefully and store it safe.
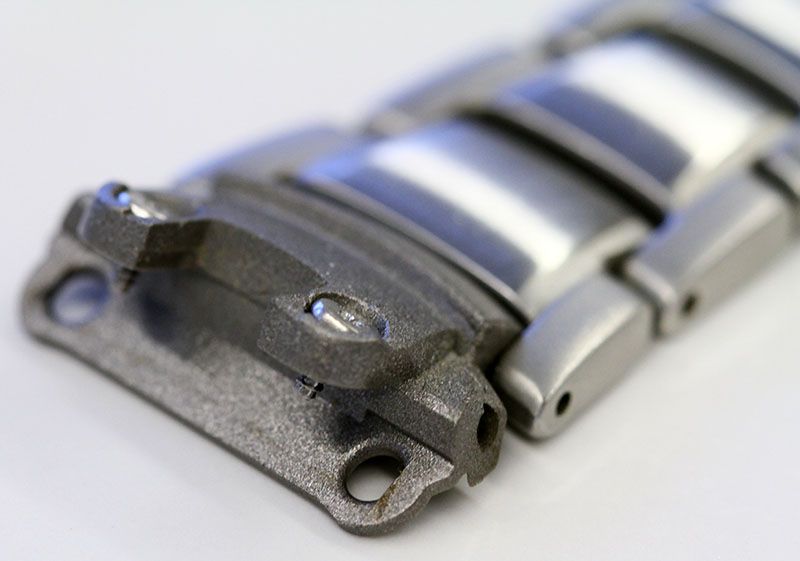
Now you can remove both bracelet parts. Best is to keep the backplate as long as possible against the case, so the last screw you unscrew is one on the back.
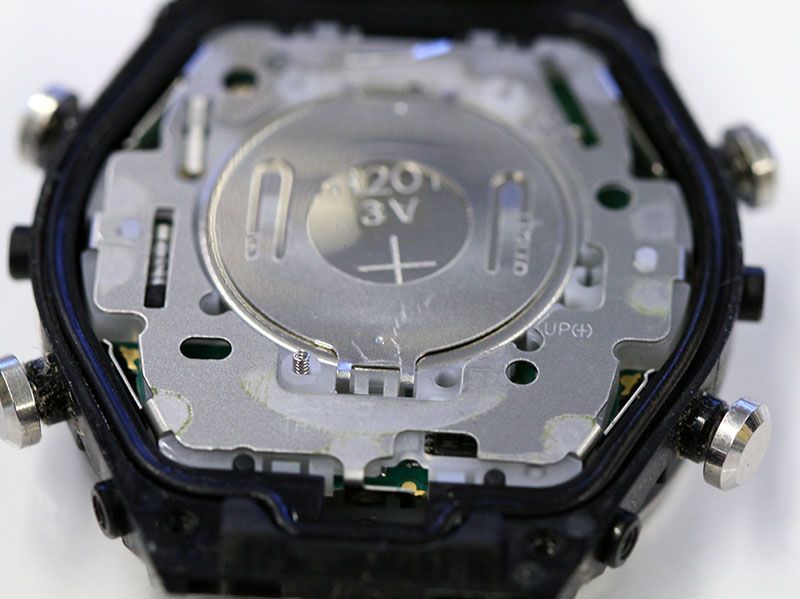
Remove the backplate. You will see the rubber shock absorber at the back of the module. You can take it from the module. You are now in the heart of your watch. The battery change itself is pretty similar to other G-Shocks.
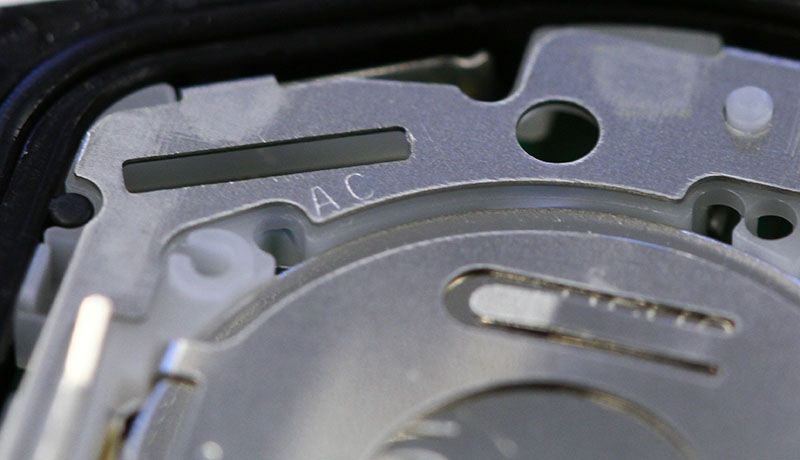
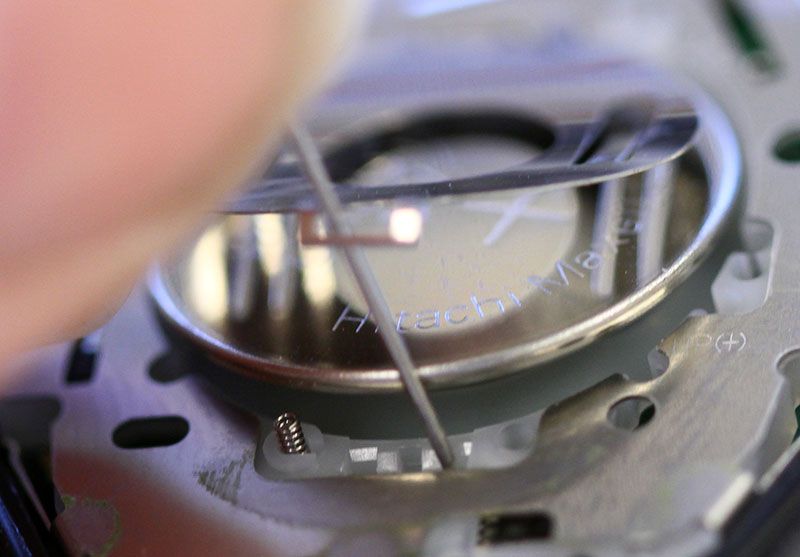
I always try to locate the AC contact near the battery. This time it took a while before I found it. The photo is actually clearer than what I saw... Remember, once you open the case,
never,
really never,
turn the module upside down. In this case there is one spring, which can fall out, but there are even models where three springs can fall out, as they are loose in the module. If these fell out, you will loose functions of your watch, like no alarms and no EL backlight.
It's crucial to open the battery lock the right way. This is the part where unskilled people can ruin your G-Shock. The lock can simply be opened with a sharp tooth tweezer or, in this case, a sewing pin.
Just carefully pull the handle over the small notches. The battery lock will jump open. In this case actually it even ejected the battery almost whole (hd to push it a bit back for the photo.
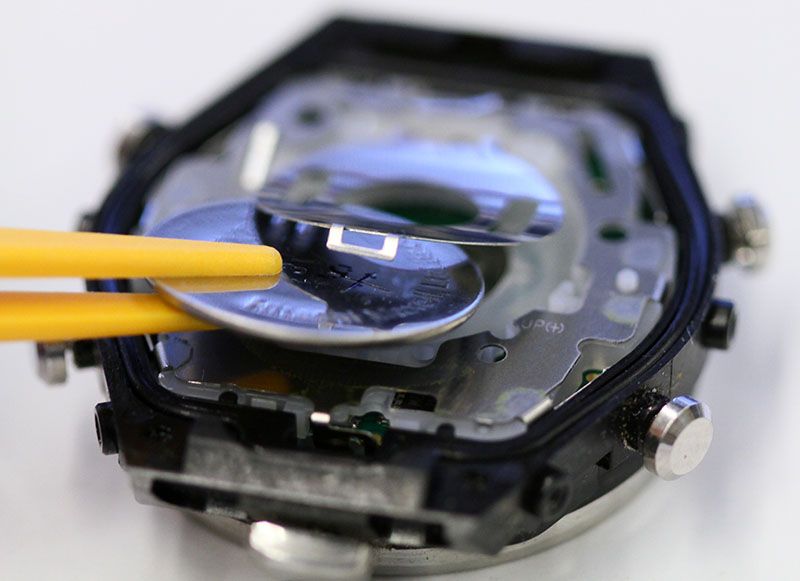
For removing a dead battery, it does not really matter how you do it. I usually use my metal tweezer, but, of course, for installing a new battery, you use a plastic tweezer. If possible even take it out of the package with your tweezer. When you push down the lock, it will lock automatically. Most of the time you even hear a click when the lock is back in place.
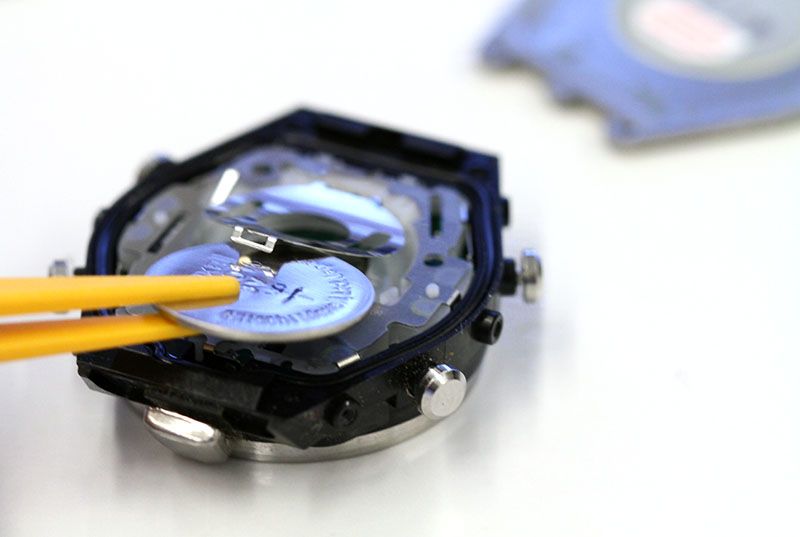
Although often the module starts to run normally after the battery is in place, it is best to reset the module. With a sharp point tweezer you connect the AC contact with the back (+) of the battery for about two seconds. After I reset I check if it's working normally, by holding the watch above my head (without turning the module upside down!). If the module runs properly, you can close the case, else you have to perform another reset. Instead of a tweezer you can use unfolded paperclips or staples. Anything made of metal which can short cut the AC contact with the back of the battery.
Yep, it works properly.
If needed, re-grease the gasket with a silicon based grease. Just a little bit, to keep the rubber in shape and to help the watch stay water resist.
Now you can close the back plate and put the bracelet parts with the screws back on. After that you can replace the little spring at the top of the case. It looks pretty easy on the photo, but actually I had to do several attempts to let it fall the right way in the hole.
Put the springbars back in place for the small metal shields. With a little practice it's easier than it looks. The bracelet can now be put together in opposite way it was removed from the case. First the metal part, then the rubber back protection. Just put the six screws back in place and the job is done.
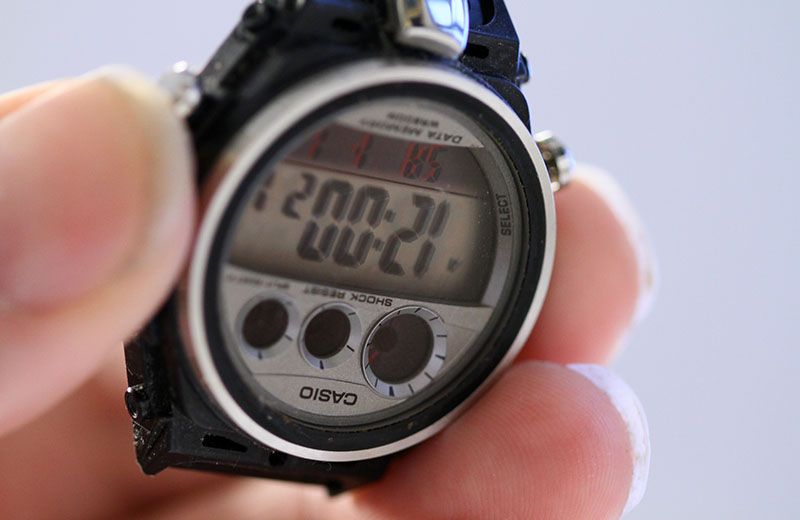
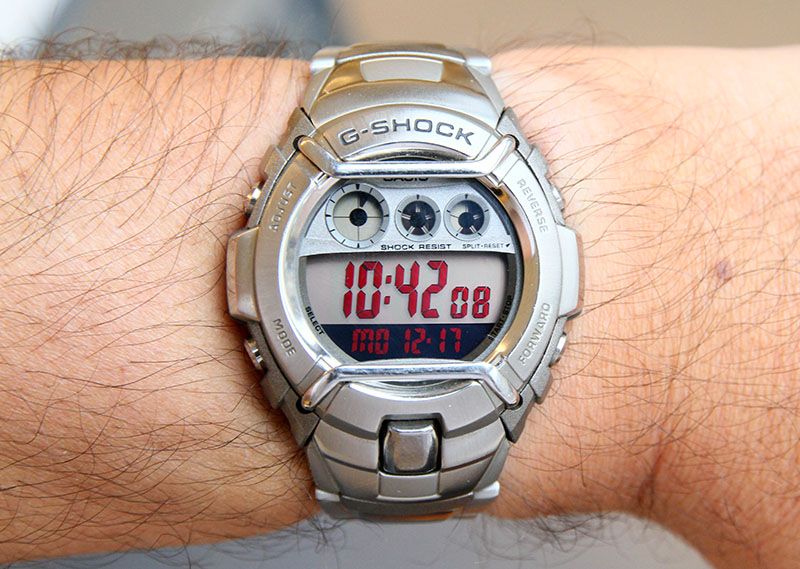
Now you can adjust the time. I always have atomic time somewhere around me. You can customize the display you like most on this model. Well, this is my favorable setting. I love the red digits.
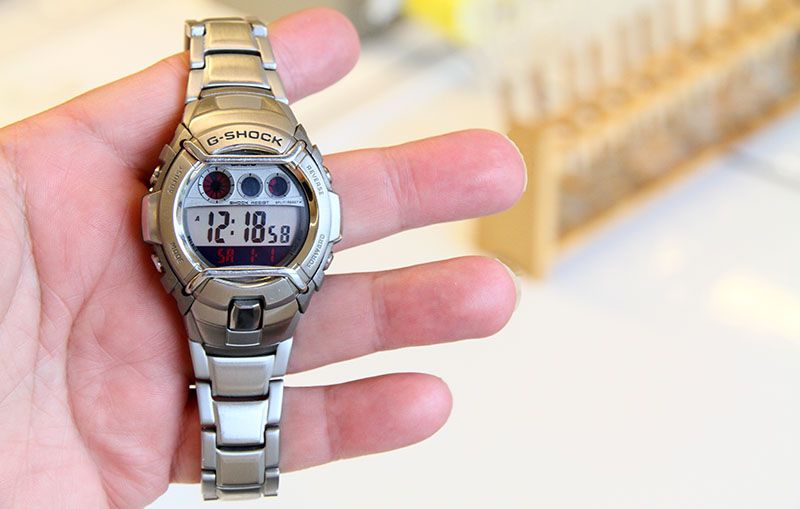
Well, that looks great on my wrist. The battery seem to last quite some years in this model. I can't remember changing it on this watch, though I have it for about 9 years now. The final test, alarms and EL backlight work. Yes, I'm pretty happy it I managed to change the battery on this model, as it is quite a bit more complicated than usual G-Shocks.


2 comments:
Thanks for this instructional post. I would not have been able to change the battery with out it. I did lose a bracelet screw in the process but luckily this has multiple attachment points so it does not seem to be to big of a problem. Thanks again.
J.D.
Post a Comment